Guide to Cooking on the Trail
Most backpackers want to eat a hot meal on the trail at least once a day. This requires carrying a portable backpacking stove to boil water and reconstituting the dried foods in it. Here, we'll cover strategies to help you conserve your stove fuel, cook efficiently, and improve your overall trail cooking skills.

Tips for cooking with a portable backpacking stove
Check the Cooking Pot & Stove Support Arms
- The last thing you want on the trail is to waste water, fuel, or food. At home, check if the bottom surface of your cooking pot is smooth. If it feels smooth, check the roughness of the pot support arms on your stove. A boiling pot can vibrate off the stove and hit the ground if both the bottom of the cooking pot and the stove support arms are smooth when the ground is not entirely level. Roughen up the supports with a metal file if needed.
Presoak Longer Cooking Foods in Water First
- You may wish to save money by cooking packaged food purchased from the grocery store. Often, these foods are partially cooked rather than instant, and simply soaking them in boiling water won't soften them enough. For tough-to-cook foods, such as parboiled rice and pasta, you need to presoak them in cold water first.
- Presoak food in cold water for 5 - 10 minutes before heating. If you are using store-bought packages of pasta or grains that require excess water for draining, obviously you do not want to use the amount of water stated on the package. You do not want to waste water, or drain cooking water near your campsite. Reduce the quantity of water stated. Add enough water to cover the food for soaking. There is no harm in eating the same water your pasta is cooked in. In fact, it is beneficial because it contains calories (released from the starch in the pasta) and adds richness to the sauce. The dried food should appear plumper and soften as it absorbs some of the water. Add a little extra water just before boiling. Ignite your stove and turn the dial up. Bring the ingredients to a boil in your cookpot. Turn off the flame and allow the meal to soak in the boiling water per the amount of the "cook" or "simmer" time specified on the package. Not simmering will significantly save on fuel.
- Instead of presoaking, another option is to boil the water, add the ingredients, and then bring it back to a slight boil (30 seconds - 1 minute). The caveat: you have to be vigilant when boiling food (versus water) with a covered lid. It can splatter, boil over and create a mess.
Fuel & Cooking Efficiency

- Always set up the camp stove on a hard and level surface in a sheltered spot—preferably on the ground or nearest the ground behind a rock, large log, or yourself to shelter it from the wind..
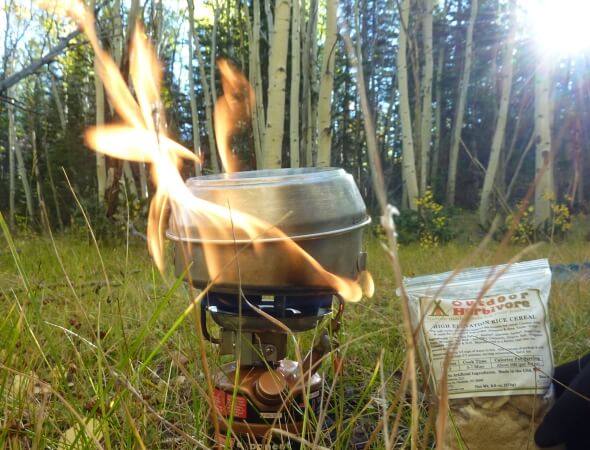
- Turn the knob on the stove to the highest setting so that the flame burns straight, directly focused underneath the pot. This does not mean you should open the valve on the stove to the maximum setting. A medium-high setting, or about 75% of the max, is generally the most efficient. The flame should be bluish, and no portion of the flame should flare out and go over the sides of the pot.
- Your cook pot size matters. Use a pot that is similar in size or slightly wider than the width of your backpacking stove. A tall and narrow pot may cause the flame to spill over its sides, wasting fuel. Broad-bottomed, shallow cooking pots are the most energy-efficient.
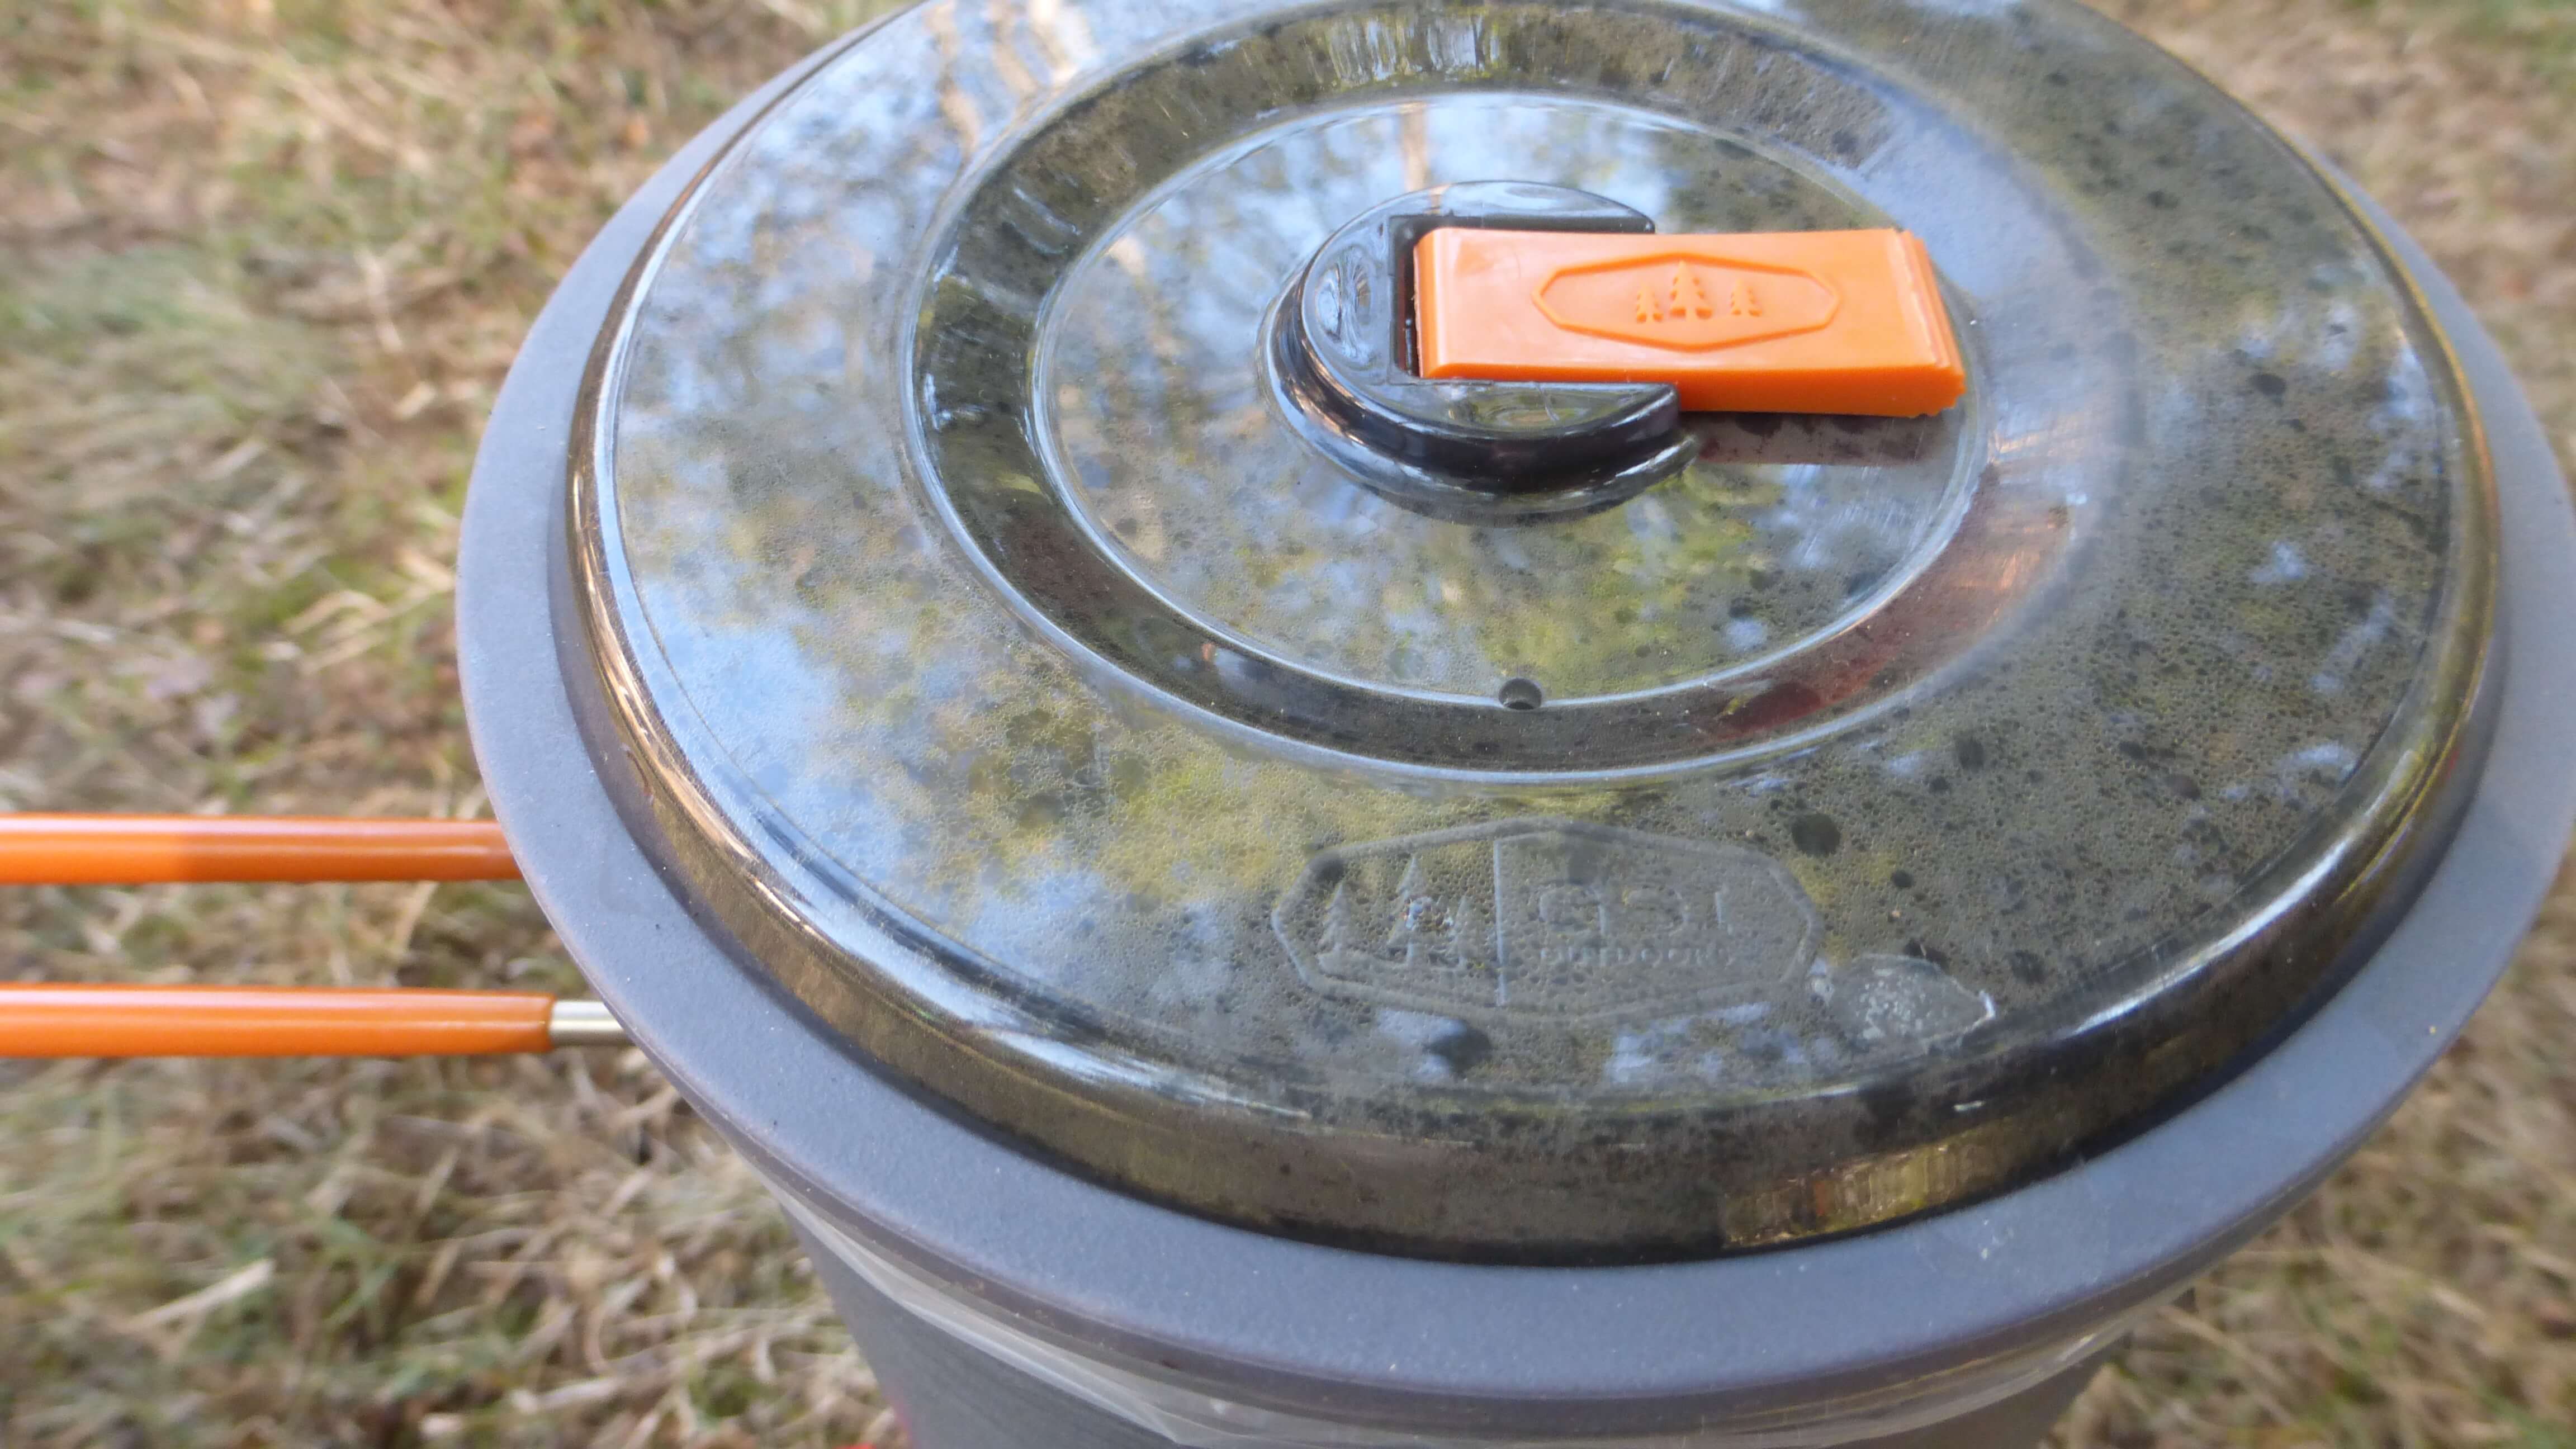
- Always check that the pot of water is rapidly boiling before adding dried ingredients and cutting off the flame. But refrain from checking if the water has reached a boil by opening up the lid and losing heat from the escaping steam. You want as little temperature drop as possible from the second you open the lid to add the ingredients. If you have a transparent lid, look down at it - rapidly boiling water is indicated by steam building on the top and sides of your lid from bubbles rising and moving vigorously to the top of the water surface.
- To prevent burning food and to save fuel, use the boil-soak method of cooking rather than cooking or simmering over a sustained flame.

- Always cover the pot with a tight-fitting lid. Covering foods during cooking will help hold in moisture and reduce fuel consumption and time to boil. If you do not have a lid, you can easily make one using an aluminum pie tray from the supermarket. The DIY lid will be light and will not seal perfectly, but it is better than wasting fuel from evaporation. Place your pot grips or a weighted object on top of the lid to prevent the lid from popping up and allowing steam to escape if needed.
- Stir the food thoroughly before simmering or soaking. Some lightweight camp pots, such as stainless steel and titanium, have extremely thin walls and tend to develop hot spots. If not stirred, this causes food to stick, brown, or even burn. Open the lid at least once and stir while it is soaking to help uniformly distribute the heat.

- The wind can blow the flame sideways and waste fuel. Maximize the thermal efficiency of your stove by enclosing it with a metallic shield, typically made from firm aluminum, and fold-up for storage. The shield acts as a wind guard and reflector, which prevents heat loss by keeping the flame focused on the bottom of the pot, capturing the radiant heat off the stove and directing it back. Warning: Never completely enclose the stove. Otherwise, the reflected heat can overheat the fuel tank/canister and cause injury. Keep part of the windscreen open or ventilated if you're using an "upright" stove (where the burner is attached directly above the fuel tank or canister).
- A good insulator can mean the difference between a hot meal and a warm meal, which is especially useful during winter. If the air is cold, add an insulator (cozy) around the pot to keep the food hot while it is soaking. A pot cozy retains heat and saves on fuel, eliminating the need for simmering on a stove. The cozy should not be put around the pot while it is boiling. Add the insulator after the water has boiled and the pot removed from the stove. Most camping pots (i.e., titanium& aluminum) are decent insulators alone. They are superior to plastic bags you might pour boiling water in. A pot cozy can be made using reflective flexible material (in the USA, look for "Insul-Bright," a mylar/polyester fabric that sells for $5.99 per yard). They can also be made from an auto windshield sunshade. See how to make your own cozy using a reflective sunshade. You can also insulate your pot with items you already have with you, such as your jacket, hat, etc. Clothing won't work as well, but is still better than no insulator at all.
- Are you worried about running out of backpacking fuel while on the trail? Conserving fuel greatly depends on the efficiency of the cooking process, as outlined in strategies to conserve stove fuel.
- Backpacking meals requiring boiling water to rehydrate will need to sit longer in hot water to soften at higher altitudes. Add 1 minute of cooking (soak) time for every 1,000 feet of elevation gain above 5,000 feet.
Cooking at Extreme Altitudes
- At extreme altitudes (above 18,000 ft), a typical backpacking cook-set will not reach a temperature high enough to cook a hot meal. To compensate for the lower temperature of the boiling water, the cooking time must be increased to such an extent that it is impractical. And turning up the heat will not help cook food faster. No matter how high the cooking temperature, water cannot exceed its own boiling point — unless a pressure cooker is used. Portable pressure cookers boil water at a temperature high enough to soften dried foods, and a hot meal can be enjoyed. A pressure cooker works by trapping the steam that escapes from the boiling water, thereby raising the pressure so that the water boils at a higher temperature. A typical pressure cooker applies 15 pounds of pressure, which raises the boiling point of water to 250 degrees F (121 degrees C) at sea level. Look for small, lightweight pressure cookers that are designed for mountain climbers.
- Consider taking cold soak meals and high-carbohydrate meals to keep food preparation simple and conserve stove fuel. Eating cold-soaked foods, instant foods, and ready-to-eat snacks allows you to reserve stove fuel for melting snow for drinking versus both cooking and drinking. See Outdoor Herbivore's cold soak backpacking meals, or here by filtering the column Good for Cold Soak = Y.
- Be aware of the safety implications of cold-soaking foods that are meant to be heated. Cold soaking par-cooked pasta/rice/grains often means you won't digest them if the temperature fails to reach 180 degrees, when the starches and protein cells break down for you to metabolize it. Also, cooking is a kill step for destroying any bacteria that may be present in your food, the container you use for hydrating food, your dirty hands touching the food, and improperly treated wilderness water. Not boiling water or soaking food with heat means you aren’t getting that added safety step. Your likelihood of multiplying harmful bacteria is minimal if you are soaking for a shorter time (4 hours or less) or outdoor temps resemble a refrigerator or freezer (less than 45 degrees).
- Salt can help shorten cooking time, but only minimally. In fact, salt, sugar, and practically any other water-soluble substance increases density, which elevates the boiling point (so it boils at a higher temperature) and, therefore, shortens cooking time. This may seem like a solution for elevating the boil temperature at higher elevations, but the effect of salt is negligible. The difference in temperature between unsalted and salted water at culinary concentrations (i.e. one teaspoon of salt per quart of water) is about 1°, which is barely noticeable or beneficial at high altitudes.

